How to fix install Chat With RTX failed?
Recently, many users have reported installation errors when installing Nvidia’s “Chat with RTX” AI bot. Here is a comprehensive guide on how to fix install Chat With RTX failed:
Part 1: what is Chat With RTX
Chat with RTX, more commonly known as Nvidia RTX Voice, is an innovative noise-canceling tool that uses the power of AI and the performance of Nvidia RTX GPUs to scrub unwelcome noise from your broadcasting, streaming, or video conferencing.
Key Features include:
- 1.Background Noise Reduction : It leverages the power of AI to reduce distracting background noise from your digital audio. This includes sounds from a keyboard, door slamming, children, pets, etc.
- 2.Enhanced Voice Quality: Beyond just eliminating background noise, Chat with RTX also enhances the vocal clarity, making you sound more professional on your calls or while streaming.
- 3.Application Compatibility: It is compatible with most of the popular communication applications. This means you can use it in conjunction with software like Discord, Skype, Zoom, Teams, etc.
Remember, to run Chat with RTX, your system needs to meet certain hardware criteria, including having a GeForce RTX 30 series or newer GPU model with a minimum of 8GB VRAM, and either Windows 10 or 11 as an operating system. Also, ensure that your NVIDIA GPU drivers are up-to-date.
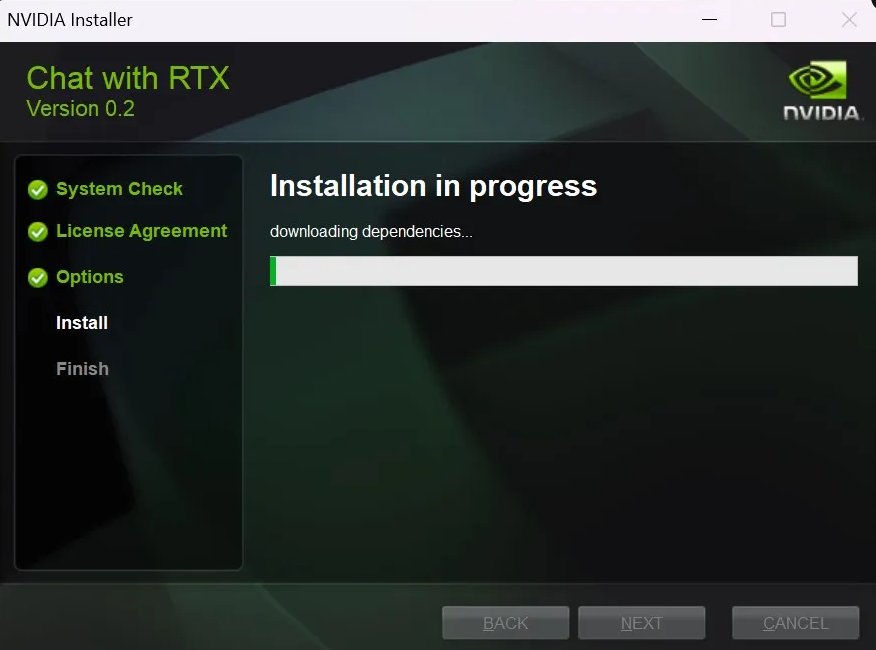
Part 2: How to fix install Chat With RTX failed?
Installing Nvidia's Chat with RTX app may sometimes encounter issues and fail due to various reasons. Here are some potential solutions to fix the issue:
1.Check System Requirements
Make sure your system meets the minimum requirements: a GeForce RTX 30 Series GPU or above with at least 8GB of VRAM, and either Windows 10 or 11. Also ensure your NVIDIA GPU drivers are up-to-date.
2.Administrator Rights
Try running the installer using Administrator rights. Right click the installer file and select 'Run as administrator'.
3.Clear Temp Files
Clearing temporary files can sometimes resolve installation issues. Press the Windows key + R, type %temp% and hit Enter. Delete all the files in the directory that opens.
4.Disable Antivirus Temporarily
Rarely, your antivirus software can cause installation issues. Try disabling it temporarily until the installation is complete.
5.Re-download the Installer
The installer file could be corrupted or incomplete. Try re-downloading it from the official Nvidia website.
6.DirectX End-User Runtime
If the issue persists, try installing the DirectX End-User Runtime, which could help address dependencies.
7.Windows Update
Ensure your Windows system is updated to the latest version.
If none of the above steps work, it's probably best to contact Nvidia's customer support to help troubleshoot and resolve the issue. Remember, the specific error code or message you received during installation could also provide important clues to the issue.
Conclusion
The above is the solution when "NVIDIA Installer failed" appears. I hope it can help you. If there is a better way, please leave a message
You Might Also Like

Tenorshare AI PDF: Chat, Summarize Insights from PDFs
Summarize complex PDFs in one click!Tenorshare AI PDF, Instant Summary
Summarize and chat with any PDF.
Tenorshare AI PDF: Chat, Summarize Insights from PDFs